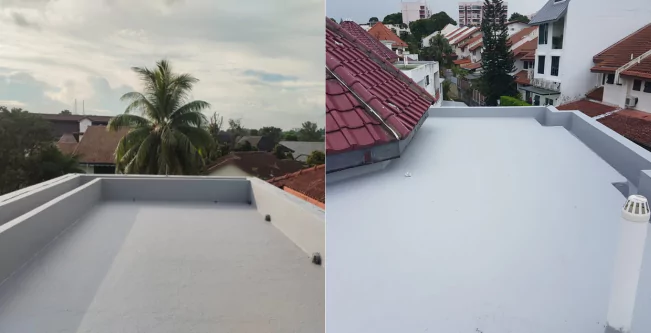
Are you already getting wet or is your roof waterproofing saved you this time?
If you are an adult, then you must sleep 7 hours or more at night, which Mayo Clinic explains more. Does that make you want to sleep safely during a thunderstorm or watching water slowly dripping from your roof and thinking, “What if it pours heavily and turns my roof into a pool?” If you’re a homeowner or property manager facing these concerns, this guide will walk you through the process of waterproofing your roof. Which will be eventually beneficial whether you are doing it yourself or hiring professionals. But first to understand the whole thing, we need to understand the foundation briefly.
Why roof waterproofing is important for you?
Roof waterproofing service is not only about avoiding leaking in heavy rain but is essential to keep the structure of your property intact. With the humid and rainy weather conditions in Singapore or any other place in the world, a waterproofed roof is essential to protect your ceilings, walls, and valuables. Waterproofing your roof also:
- Stops water damage before it starts, saving you on costly leakage repairs.
- In the long run, it saves you money by extending your roof’s lifespan.
- Maintains the comfort and dryness of your home, especially in monsoon.
How to do waterproofing of roof: A Step-by-Step Guide?
Waterproofing your roof could be easier if you have the right materials and a well laid out plan. Here’s a look at how to do it:
1. Clean the Roof Surface
Before applying any waterproofing material, ensure your roof is cleaned and free of debris, dirt, and moss simply put just do roof washing. This ensures the waterproofing layer adheres properly.
- Clear debris: Remove leaves and branches using a broom, rake, or leaf blower.
- Scrub off algae: Use a soft-bristled brush or pressure washer to clean off any moss or algae buildup.
- Check gutters: Ensure that gutters are free from blockages and allow for proper water flow.
Example: If you’ve ever seen algae stains on your roof, you know how easily they can affect waterproofing. Cleaning is the first step to a long-lasting solution.
2. Inspect for Damage
Look for cracks, holes or other damage that could let water seep in. Concentrate on seams or areas where tiles meet, as these tend to be weak points.
- Check for cracks and gaps: Small cracks can turn into larger problems when torrential rain hits.
- Inspect for damaged tiles: Before waterproofing, you should replace any missing or broken tiles.
One example: A small crack near a chimney caused Mr. Tan’s roof leak, which a simple inspection could have prevented. But as he DIY’ed the roof, he missed to properly secure the leak before heavy rain start shttering the leak into a hole, which made Mr. Tan call SP Roofing immediately. He was very frustrated, but end of the day he saw what we did and was able to understand what professionals do before putting any practical effort to the issue, which is proper instection, analyzing the situation and going with the right method.
3. Apply the Waterproofing Layer
After you clean and ensure your roof is damage-free, you need to apply the waterproofing solution. Different materials require different approaches:
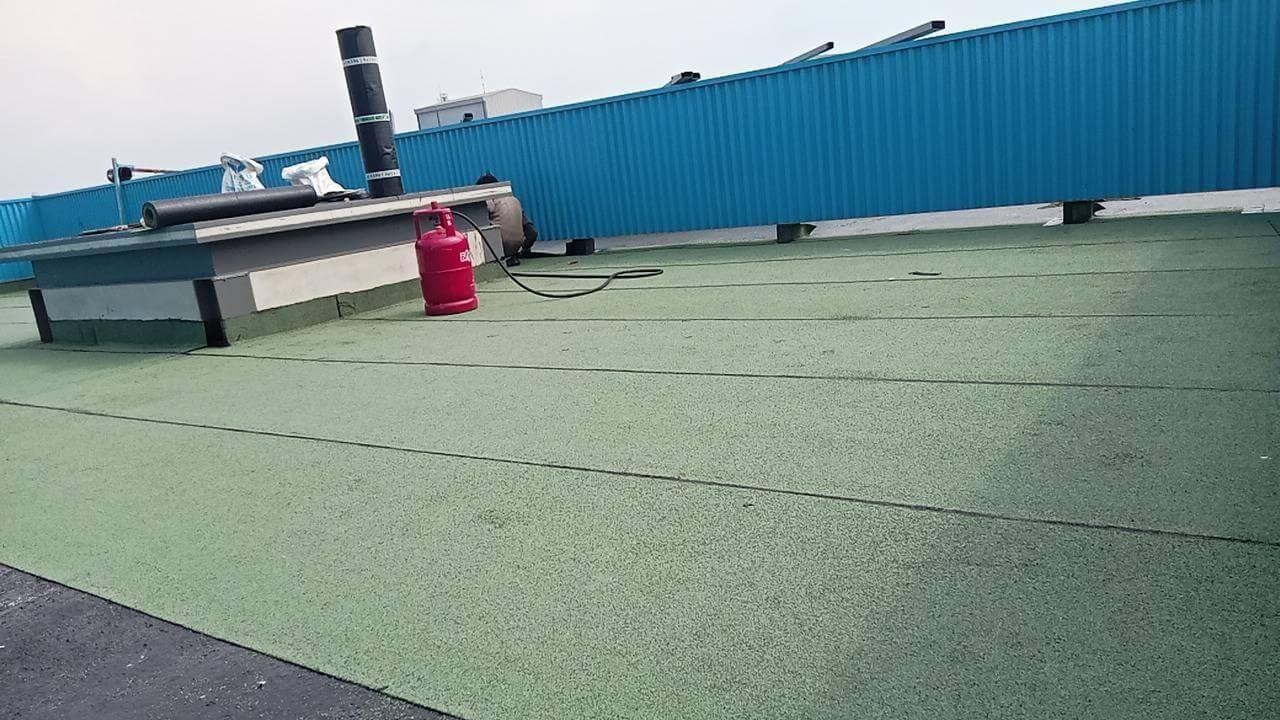
- Bituminous Membrane:Usually applied to flat roofs It is applied with a blowtorch to become a solid waterproof shell.
- Polyurethane: Great torque for sloped roofing, applied via roller or spray. It is easy to use, making a seamless barrier.
- Elastomeric Coating: These are thicker and more durable and are best for roofs with extreme temperature fluctuations.
For example: Ms. Lim selected bituminous membranes for her flat roof, so she had a durable solution that already lasted through several rainy seasons. Alike this there, are several types of wateproofing methods. Learn more about the top 5 durable wateproofing methods for Singapore climate.
4. Allow It to Cure
Allow sufficient curing time after applying the waterproofing material. Depending on the material and weather, this process can take anywhere from 24-48 hours.
- Avoid foot traffic: Do not walk on the roof while curing, or you may damage the fresh coating.
- Allow it to dry fully: Follow the manufacturer’s recommendations to ensure the material adheres properly.
Just an example: If the curing process is rushed, poor adhesion and leaks can occur. It’s a little like waiting for paint to dry — don’t poke it too soon.
5. Inspect and Touch Up
After curing time, do a roof inspection for missed places. Where you see gaps or insufficiency, a second coat of waterproofing material will be a solution.
- Check seam, corners, and edges: These areas are most likely to have leaks, so you want to make those they are fully sealed.
For example: Mr. Sung left a small opening around his vent. A final inspection would have caught the leak that required him to do additional repairs.
Conclusion: Don’t wait for the rain!
Waterproofing your roof is a small investment for long-term protection. By following these simple steps, you’ll ensure your roof stands up to Singapore’s intense weather and prevents costly damage. Whether you do it yourself or hire a professional, now’s the time to take action.
Ready to secure your roof? Schedule your free consultation or inspection today and relax during the next monsoon season!


0 Comments